Create an application with templates
In this topic you learn how to start creating an application using the App Designer and get familiar with the SplitApp template that comes with Neptune DXP - Open Edition.
You can follow step-by-step to use a pre-made API or adjust the steps to use an API that you created.
| Save your new application any time in the process and return to it later. To continue building your application, open it in the App Designer and click Toggle to edit mode on the top menu. |
Prerequisites
-
You have installed your Neptune DXP - Open Edition.
-
You have the developer role assigned.
Procedure
Configure an application with a SplitApp template
The SplitApp template is the base for an app with a general Page (Detail Page) and a Master Page.
-
The
Detail Pageshows information in its entirety. -
The
Master Pageis a side menu that shows only key information and helps to navigate through entries of a data table.-
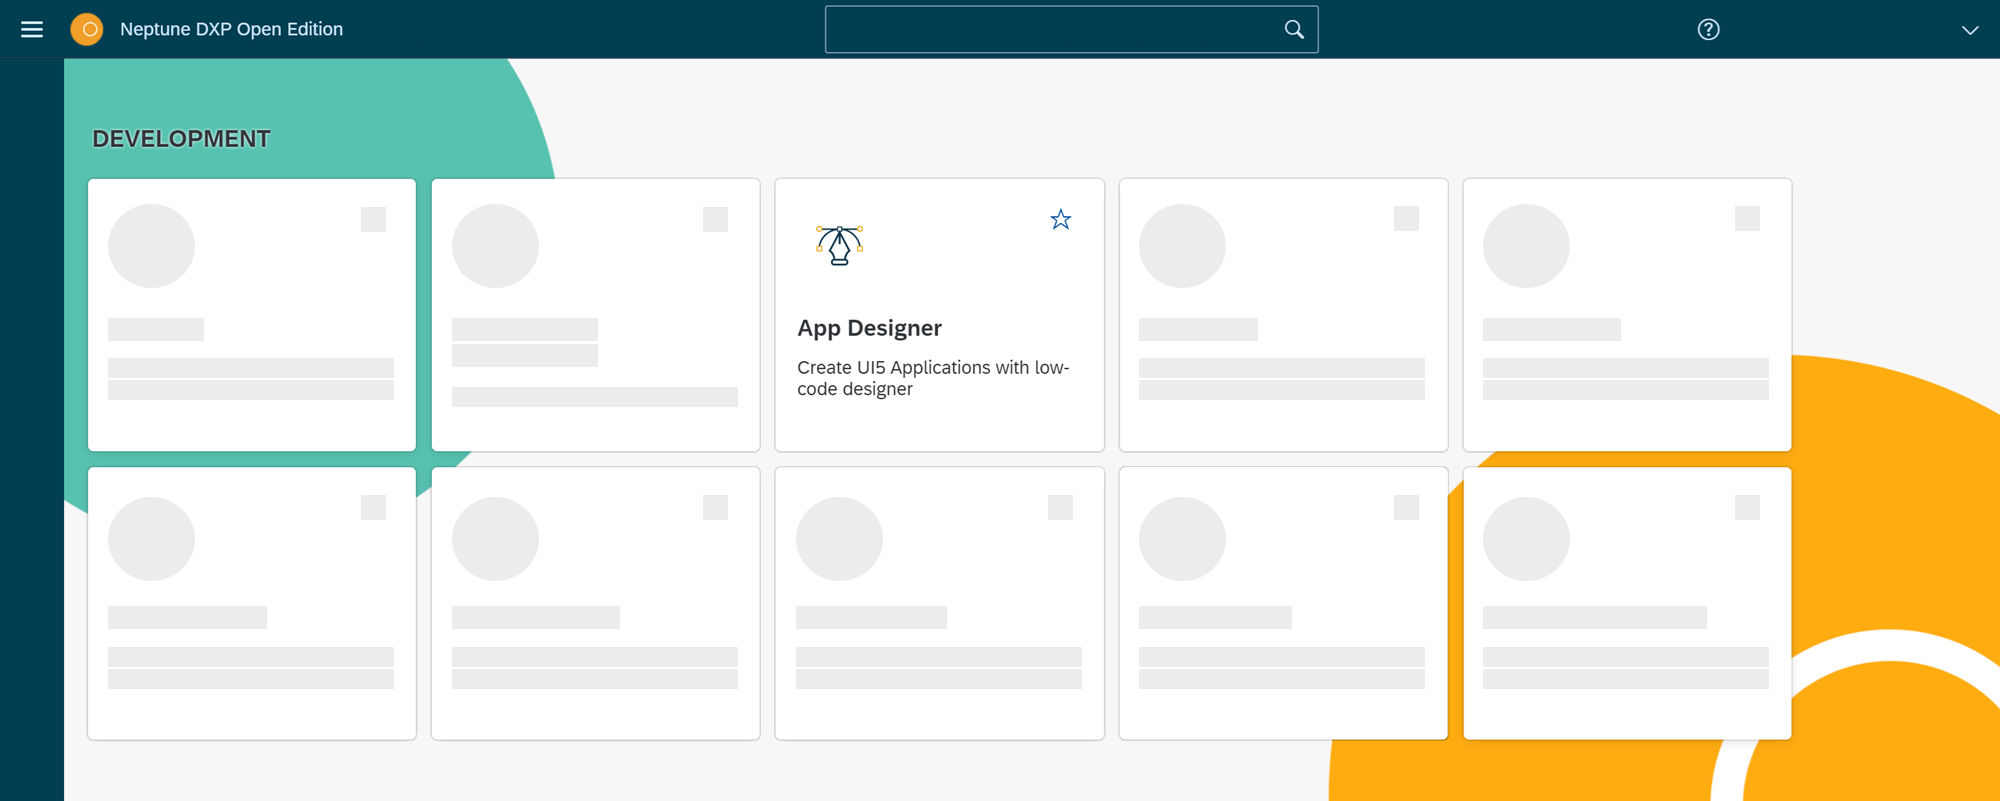
Open the cockpit of your Neptune DXP - Open Edition and click App Designer.
-
In the Cockpit, open the Application drop-down menu and click Create.
-
In the New App dialog, enter a Name of your choice.
-
Under Type, select Application.
-
From the Templates panel, select the SplitApp template and click Save.
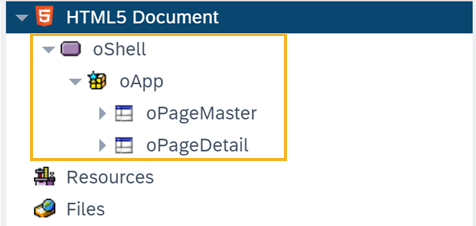
Result: You see the main designer environment, now with an HTML document consisting of a Shell, an App and two Page components with additional subcomponents. Here, you perform front-end coding. The
MasterandDetailpages define the two sides of the SplitApp. -
On the side menu, click the Settings icon.
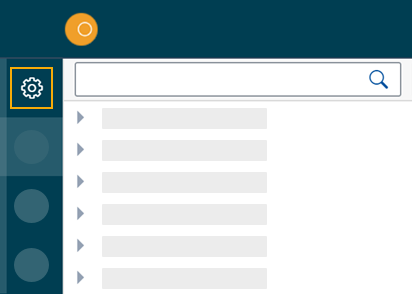
Result: The Application Settings window opens.
-
In General, enter a Description for your application and a Title.
-
Under OpenUI5, select an Open UI5 Version, Theme, and Language for your application.
The preselected Belize theme gives you the most popular look and feel. -
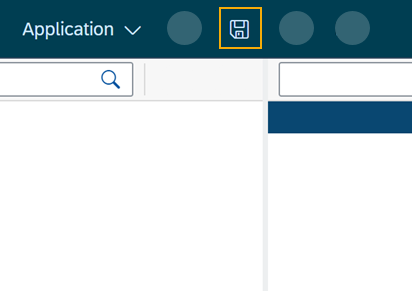
On the top menu, click Save.
-
Result: You have configured your application.
| You will start using the App Designer to create an application. To learn more about the panels and functionalities of the App Designer, see App Designer interface at a glance. |
Add resources
Now you add data resources to you application. The data is later displayed on the Master Page.
|
The following steps use the component tree from the Reusable component panel to navigate to components. Instead of using the component tree you can also search for the component in the search field above the Reusable component panel. 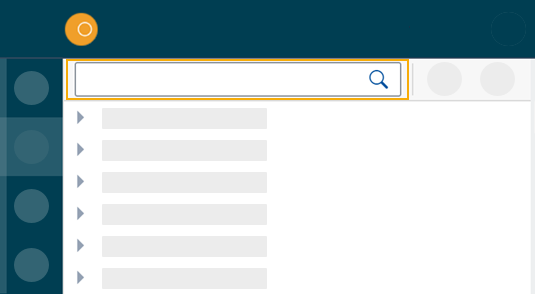
|
-
On the Reusable component panel, open Resources and drag and drop the RestAPI component onto Resources in the Application component panel.
-
On the Reusable component panel, drag and drop the MultiModel component onto Resources in the Application component panel.
-
Click on the RestAPI component.
-
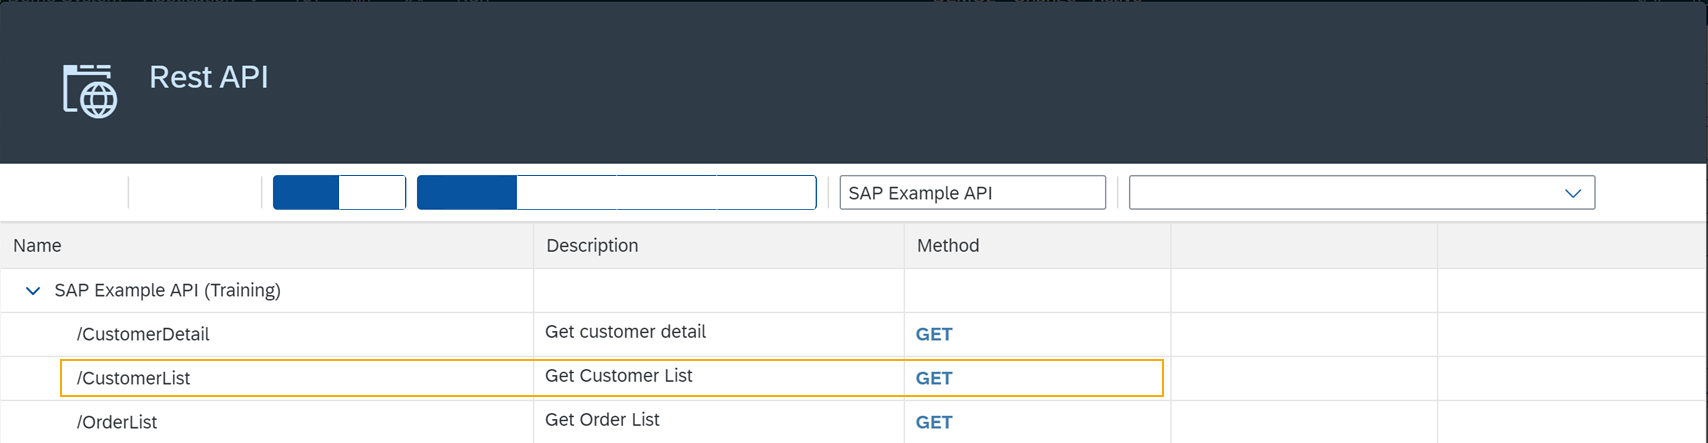
On the UI object panel, click the Rest API field to open the Rest API library.
-
Search either your API or SAP Example API (Training).
-
Click on the operation /CustomerList with the GET Method.
-
On the Component properties panel, open the API tab > Response > 200.
-
Click the field that matches the operation of your API and select
oMultiModelfrom the list. -
On the Model tab, click the setInitLoad field and select
onlinefrom the list. -
On the Application component panel, click oMultiModel.
-
On the UI object panel, click the Model Source field and, from the Binding pop-up window, select the Property from your API. In our example, that is "/getCustomerListResponse".
Result: You have added an API to the application and bound the data to the MultiModel component.
Create a list on the Master Page
In this step, you bind data from the resources to a list from the Master Page.
-
On the Application component panel, open oPageMaster and click the oList component.
-
On the UI object panel, click the icon in the Model Path field.
-
On the Binding pop-up window, open oMultiModel > getCustomerListResponse > result and select
IT_CUSTOMERS. -
On the Application component panel, open oList and click the oObjectListItem.
-
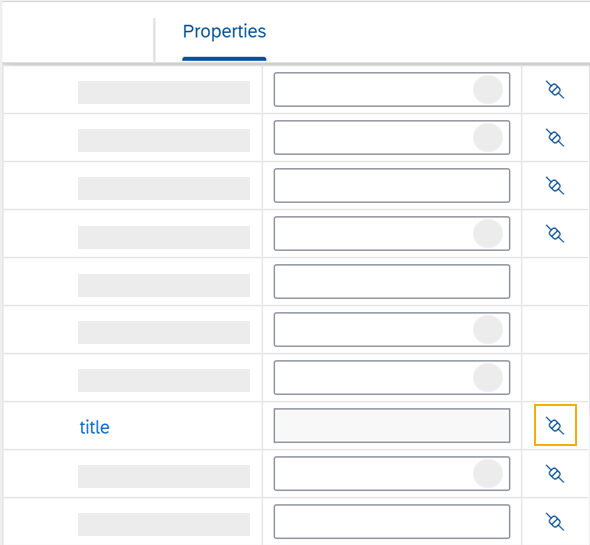
On the Component properties panel, open Properties, go to title and click the connected icon.
-
On the Binding pop-up window, open IT_CUSTOMERS and click the
NAME1property. -
On the Application component panel, open oObjectListItem and click on the oObjectAttribute component.
-
On the Component properties panel, open Properties.
-
Go to text and click the connected icon.
-
On the Binding pop-up window, open IT_CUSTOMERS and select the
ORTO1property. -
Go to title and enter
City. -
On the Applications component panel, click the oObjectStatus component.
-
On the Component properties panel, open Properties, go to text and click the
connectedicon. -
On the Binding pop-up window, select the
LAND1property. -
Go to title and enter
Country. -
On the top menu, click Save and Activate.
Preview your application
-
To preview the application in the Application preview panel, click Run in Designer and select Run in Designer.
Result: The Application preview panel shows the current version of your application.
-
To preview the application in a new browser tab, click Run on the top menu.
Result: A new tab opens in your browser and shows the current version of your application.
Result
You have created an application to display customer information:
-
You have created an application with the SplitApp template.
-
You have integrated data from an API.
-
You have bound specific properties from the API to the
Master Pageof your application.